中文简体
中文简体





Previous Post
You just cut a melamine board to size. The cut edge shows the raw substrate core, and you know that leaving it bare will invite moisture, chipping, and an unfinished look. The solution is edge banding, but doing it well is not just about slapping on a strip. The board's surface and core quality matter just as much as your technique.
In simple terms: to apply edging to a melamine board, use a pre-glued edge banding tape and an iron or hot-air gun, press it firmly, trim the excess, and sand the corners. That works. But the reason many edges fail after a few months comes down to low-quality substrate, the wrong tape thickness, or a poor glue bond. This guide walks through what to use, how to do it, and which board properties make the job easier and longer lasting.
Why Edge Banding Matters for Melamine Boards
Melamine boards have a decorative melamine-impregnated paper on the face, but the core is typically particleboard, MDF, or LSB. When you cut a panel, the blade exposes that core. Without edge banding, the open core quickly absorbs atmospheric moisture, swells, and loses its structural integrity. In a kitchen or bathroom, that swelling is visible within weeks.
Edge banding does more than hide the core. It protects the cut edge from physical impacts, prevents moisture from entering, and seals the board so it doesn't shed dust or loose particles. It also stops the sharp core from cutting hands or snagging fabric. For furniture and cabinetry, a properly applied edge band is a functional requirement, not an aesthetic luxury.
The quality of the substrate directly affects how well any edge banding stays attached. A board with a dense, even core gives the adhesive a solid surface to grip. A board with a loose, porous core can let the banding peel off after a few thermal cycles. This is why the first step in a successful edge-banding project is choosing the right board.
Types of Edge Banding Materials
There are several edge banding materials available, each with different properties. The thickness, flexibility, and substrate compatibility of the tape determine how the edge will perform over time. The table below summarizes the most common options.
| Material | Typical Thickness | Durability | Best For | Cost Level |
|---|---|---|---|---|
| PVC | 0.4–3.0 mm | Water-resistant, impact-resistant, hard | Kitchen cabinets, worktops, commercial furniture | Low to medium |
| ABS | 0.5–3.0 mm | Slightly softer than PVC, UV-resistant, more eco-friendly | High-end furniture, panels exposed to sunlight | Medium |
| Melamine-impregnated paper | 0.4–0.8 mm | Moderate, susceptible to moisture in low-quality tapes | Indoor furniture, color-matched to board surface | Low |
| Wood veneer | 0.5–2.0 mm | Natural look, can scratch and dull | Furniture with a solid-wood edge aesthetic | High |
For a melamine board that will be used in a typical residential cabinet, a pre-glued PVC or melamine paper edge band is the standard choice. Pre-glued tapes have a heat-activated adhesive on the back, which makes hand application possible without separate glue. The adhesive should be a high-temperature adhesive that melts evenly at iron temperatures between 150–180°C.
When choosing the tape width, open the tape and check that it is 1–2 mm wider than the board thickness. For an 18 mm board, an 18 or 19 mm tape is ideal. A slightly wider tape gives you a small overhang that you trim flush, which helps hide any minor angle imperfections in the board cut.
Tools You Need for Hand Application
Applying edge banding by hand is a straightforward process, but having the right tools makes the outcome significantly cleaner. Here is what you need:
- A clothes iron with an adjustable temperature setting, or a hot-air gun with a flat nozzle.
- Pre-glued edge banding tape of the correct width.
- A utility knife with a sharp, replaceable blade.
- A hand edge trimmer or a laminate trimmer for trimming the overhang.
- 200–220 grit sandpaper or a sanding block.
- A rubber roller or a hard plastic scraper to press the tape flat.
- A clean cloth and a bit of alcohol-based cleaner to wipe the board edge before applying.
A hair dryer on high heat can work as a substitute if you do not have an iron, but it is less efficient because it does not deliver the same concentrated heat. A dedicated hand-held hot-air gun with a nozzle is a better upgrade because it allows you to move along the edge quickly and evenly.
Step-by-Step: How to Apply Edging to Melamine Board
Follow these steps carefully. The most common cause of a failed edge is rushing through the process. Take the extra few seconds at each stage and the result will look professional.
- Clean the board edge. Wipe the cut edge with a cloth to remove all sawdust and loose particles. Even a tiny speck of sawdust under the tape creates a gap that will let moisture in. If the edge is rough, sand it lightly with 180-grit sandpaper.
- Measure and cut the tape. Lay the tape along the edge and cut it with about 20–30 mm of extra length at each end. This overhang ensures you can trim the ends flush after application.
- Preheat the iron. Set the iron to a medium-high temperature, roughly 150–180°C. If the iron is too cold, the glue will not melt fully. If it is too hot, the tape may warp or the melamine face may blister.
- Start applying from one end. Place the tape on the edge, aligning the top edge of the tape with the top face of the board. Keep the tape straight but allow the overhang to hang over the ends. Move the iron along the tape at a steady, moderate speed. The heat activates the glue, and you should see a slight melt line under the tape.
- Press with a roller or scraper. Immediately after each pass of the iron, run a rubber roller or a hard plastic scraper firmly over the tape. This forces the glue into the substrate and eliminates air bubbles. The pressure matters more than the heat at this stage.
- Let the glue cool. Wait at least 60 seconds before trimming. If you trim while the heat-activated adhesive is still soft, the tape can pull away from the board when the edges are cut.
- Trim the overhang. Use a sharp utility knife to cut off the excess tape at both ends. For the side overhang, use a flush trim bit on a router or a manual edge trimmer. Cut in a downward motion with the tool against the board face to avoid chipping the melamine surface.
- Sand the corners and edges. Lightly sand the edges and corner caps with 220-grit sandpaper to soften sharp points. This removes any small splinters and makes the edge feel smooth to the touch.
- Inspect the result. Check for any sections where the tape has not bonded. If you find a loose spot, reapply heat with a small iron tip or a hot-air gun and press again.
Common Mistakes That Ruin the Edge
Even with the right technique, several easily avoided mistakes can spoil your edge banding. The most common one is using insufficient heat. When the glue does not melt completely, the tape sticks only in patches, and those patches fail within days. Always test the heat on a scrap piece first.
Another frequent issue is trimming too soon. The adhesive is still viscous when it is hot, so any force from a trimmer can pull the tape away from the board. Give the glue three or four minutes to cool to a full bond before you cut the overhang.
A dull knife or a blunt edge trimmer is a quieter problem. A dull blade creates a jagged edge that looks unprofessional and can also chip the melamine surface. Replace the blade frequently and always cut away from the finished face.
Stretching the tape is another subtle trap. When you unwind a roll, the tape can be under tension. If you apply it while it is stretched, the tape will shrink back when it cools, leaving gaps at the ends. Keep the natural curl of the tape relaxed as you feed it onto the edge.
Finally, the substrate itself can undermine excellent work. If the board has a high moisture content or a weak internal bond, no tape will stay on for long. That is why selecting a good melamine faced board from the start is the single most valuable step.
Choosing the Right Substrate and Edge Banding
Your edge banding can only be as strong as the board it is attached to. A dense, uniform core gives the adhesive a firm surface to grip, while a poorly compacted core can make the edge crumble during trimming. If you want the edge to survive daily use, pay attention to the internal bond strength and the moisture resistance of the substrate.
For most indoor furniture, a standard MDF core is an excellent choice. MDF has a fine, consistent fiber structure that cuts cleanly and gives the edge banding a smooth surface to adhere to. It also machines well for edge trimming.
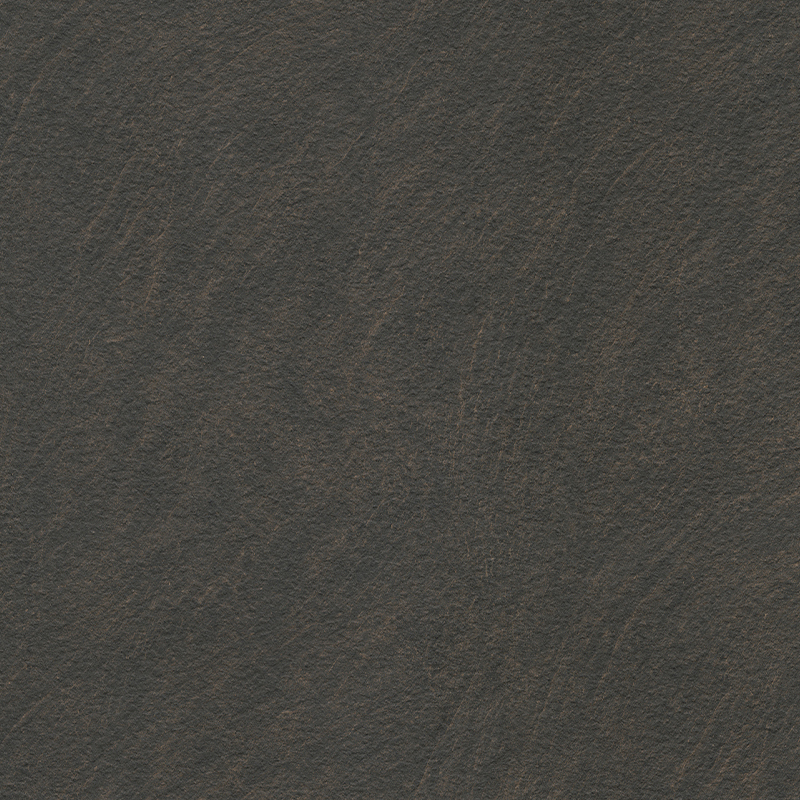 Standard MDF Core for Indoor Furniture and Edge BandingWith a fine, consistent fiber structure, this MDF cuts cleanly and provides a smooth surface for edge banding, making it a dependable choice for most indoor furniture projects.View Product →
In damp environments like kitchens or bathrooms, a high-moisture-resistant MDF, often labeled HMR MDF, is a better option. It has a higher resin content that reduces swelling when exposed to humidity, which helps the edge banding stay in place.
 Moisture-Resistant HMR MDF for Humid EnvironmentsFeaturing a higher resin content, this HMR MDF reduces swelling when exposed to humidity, helping edge banding stay intact in kitchens and bathrooms.View Product →
If you need a substrate that handles heavy loads and repeated impacts, LSB (Laminated Strand Board) offers excellent stability. Its oriented strands create a strong core that resists deformation and gives edge banding a robust surface to bond with.
 LSB Panel for Heavy Loads and Impact ResistanceIts oriented strands form a stable core that resists deformation and offers a robust bonding surface for edge banding, ideal for substrates under heavy loads.View Product →
When you are evaluating a melamine board supplier, ask for the substrate's performance data. Key numbers include the 2-hour water absorption thickness swelling rate, the internal bond strength, and the formaldehyde emission level. A board with an ENF-grade formaldehyde emission rating and a low swelling rate will give you a far more dependable edge.
For a deeper look at how to compare different panel types and choose the right one for your project, refer to our guide on selecting and installing the right panel. If you want to understand the manufacturing processes behind these substrates, our technology section explains the core engineering in detail.
Final Thoughts
Applying edging to a melamine board is a skill you can learn in an afternoon, but the durability of that edge is determined by three things: a clean cut, a good tape, and a quality substrate. Take your time with each step, use an iron at the right temperature, and let the glue cool before trimming. The difference between a rushed job and a careful one is visible on every corner.
If you are planning a furniture project or a renovation, do not overlook the core board behind the decorative face. A dense, moisture-resistant substrate will make the edge banding hold up for years. This is why we manufacture our melamine faced boards with attention to substrate density and surface technology, so that every edge you apply can be a lasting one.